


DIY gallery wall with washi tape
16 March 2020
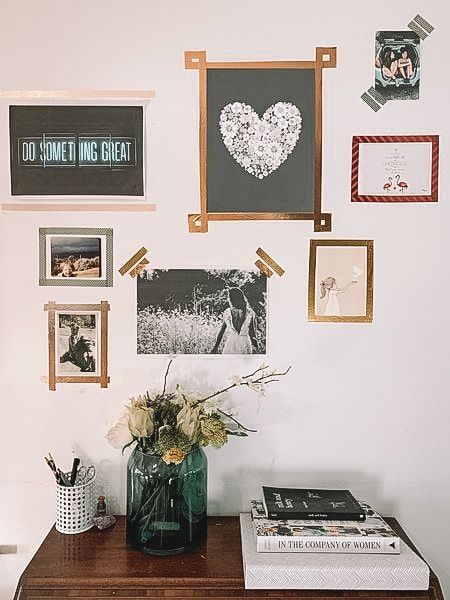
The best gallery walls are a creative & personal reflection of what you love. In this example we used a combination of art prints & photos, both new and old.
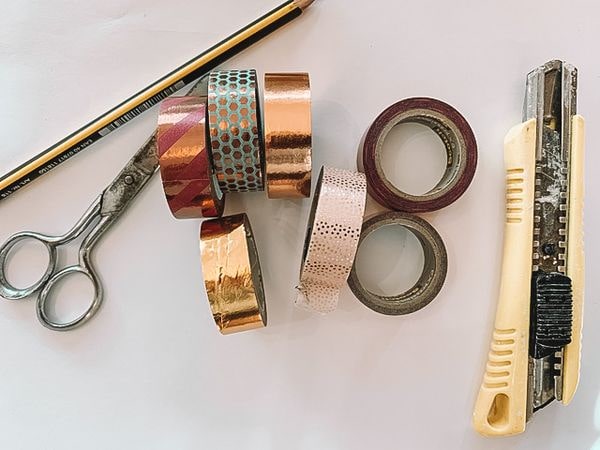
You will need:
- Prints
- Photos
- Scissors
- Washi tape
- Craft Knife
- Plain paper
Instructions
1. Choose art, or prints for your gallery wall. You can include art prints, original art, kids' artwork, photos & mementos.
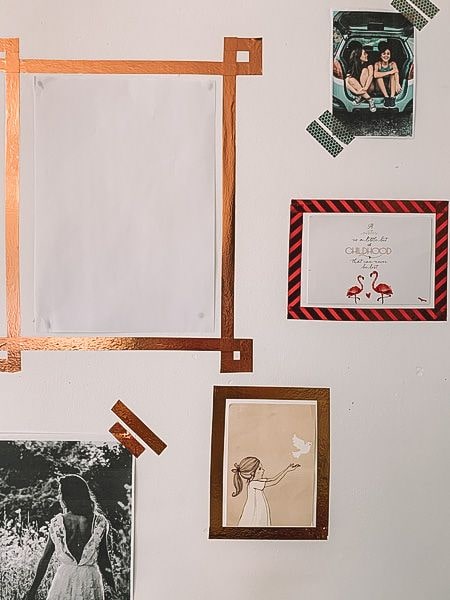
2. If you are renting, or just want to create a temporary display, it’s a great idea to use washi tape for frames. It’s removable, paper and paint friendly and there are so many great colors to choose from.
3. Arrange your prints for placement. A great tip is to make sure the gaps between the pieces are roughly equal even if the sizes are completely different. In this example we used a plain piece of paper the right size to make sure it would look right in the frame. Larger pieces will naturally become the focal point so arrange these first, then place the smaller pieces around them.
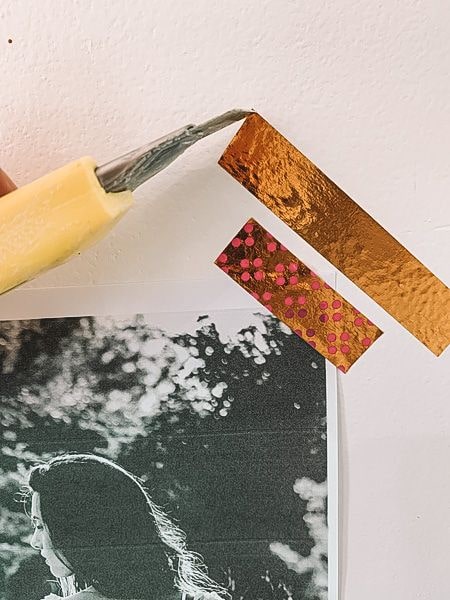
4. Attach the prints using blue tac. Using your washi tape, create ‘frames’ using the tape, scissors and craft knife for edges.
5. Don’t worry about it looking perfect, part of the charm is that it’s clearly made by you, with the things that you love. Have fun!
To print your own photos & start making your DIY gallery wall, start here:
1. Visit www.printicular.com
2. Upload your photos, check out our designer prints too!
3. We'll send your order to your selected Walgreens and they'll have your prints ready to be picked up on the very same day. Otherwise we can send your order straight to your door with our delivery service!